Continuing July 2017...
As others on the forum advised me to do, I now concentrated on the valve clearances of the engine. Well this was easier said than done, remember I was actually a two stroke guy so camshafts and specifically maintaining the correct timing was something I stayed away from in the past, but not any longer!

So the first step was to free up some space around the top of the engine and remove basically everything above the engine to create some room to maneuver and drain the engine oil which still had the bad smell and light grey color (I replaced it the year before...). I checked the oil with a magnet to see if I could find any iron particles but luckily there where none. I guess the smell and color came from leftovers in the engine from the old oily substance I found during the first oil chance, back then it was really expired oil that came out which was thinned by the fuel that leaked into it thru cilinder #1 (the fuel-lock I experienced during the initial sale). As I removed the oil filter and also removed the clutch cover and let it drip for a couple of weeks during my repairs I hope that most of the previous oil is now gone...
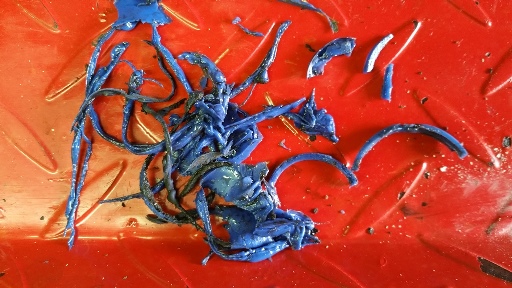
After I removed the rocker cover I found that someone had used plenty of liquid gasket to seal the cover, and even with this gooey stuff it only partially worked out as I found the engine had been sweating oil all around the cover. Removing this stuff alone took me several hours, it was basically in every hole you can imagine...
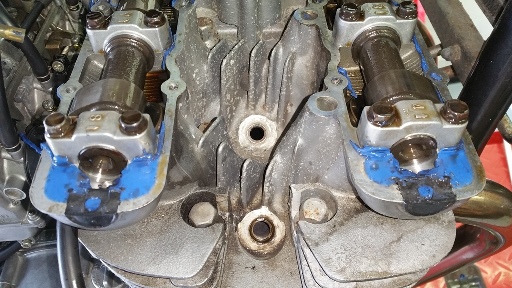
Before taking off the cams I used a marker to mark the position of the timing chain still mounted on the cam sprockets with pistons being at top dead center. The idea was to be sure I didn't mess things up with the timing after I put everything back together. This actually worked initially but since I had to turn over the engine (see below) and I forgot to install the timing chain tensioner it jumped a few teeth and after that I couldn't get the markings back to that position anymore...
Next was measuring the actual valve clearances. I owned a couple of feeler gauges but all of them had a 0,05mm resolution and as I found out later these were not accurate enough as one needs a better resolution so I ordered another one to take better measurements when I installed the new shims. Anyway I measured and took notes of them on the whiteboard as follows where you can see I had to write down the upper and lower size (between value) when using the 0.05 resolution feeler gauge:
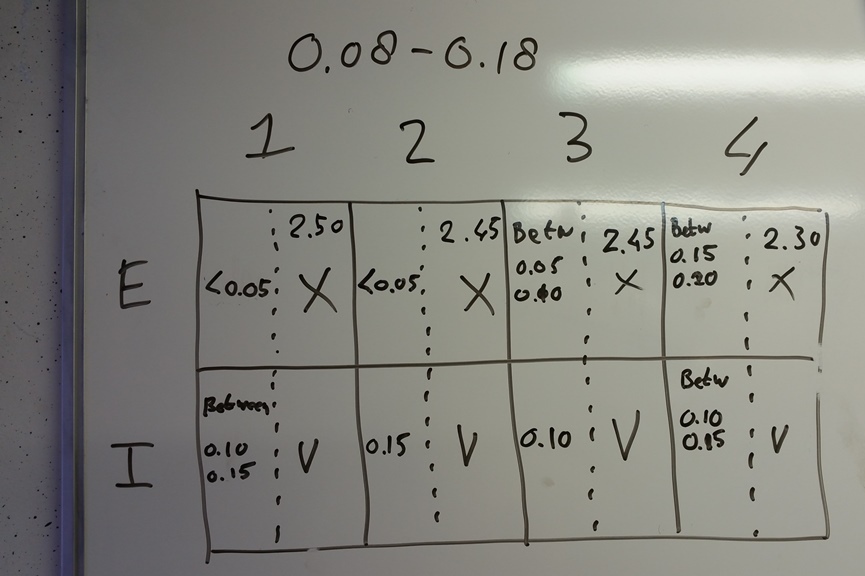
From the measurements taken I could tell that the inlet valve clearances were within specs but all the exhaust ones where too tight. Could this be the reason the engine wasn't starting on all cilinders I wondered? Cilinder 4 was basically in spec and this was also the first cilinder to start. Anyway based on this knowledge I ordered eight shims, four with sizes close to my calculations and the other four were one size smaller just in case. I think either Freddy or Stu gave me this advice just before this forum had its crash (boy did I miss this forum while working on my bike!)

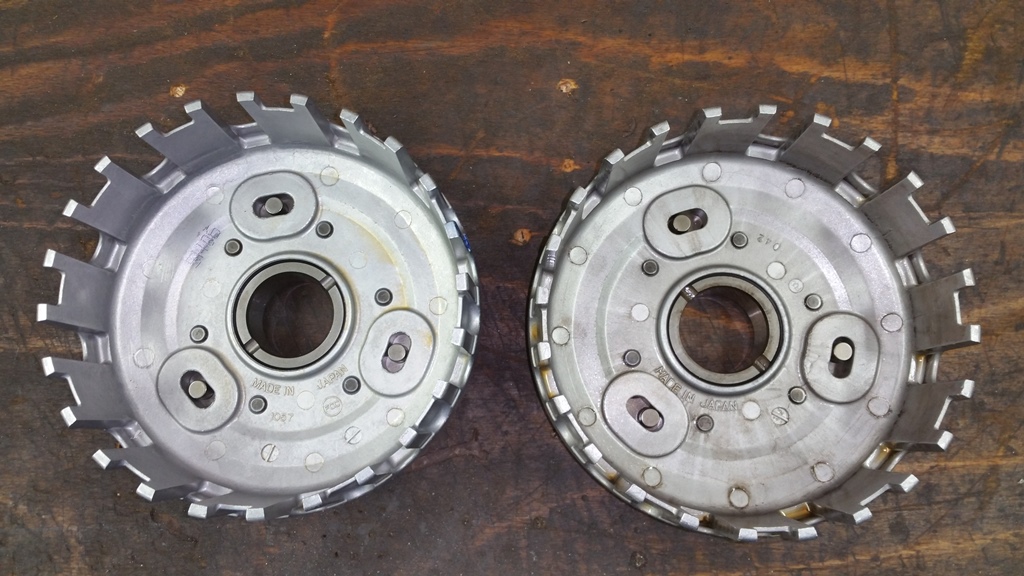
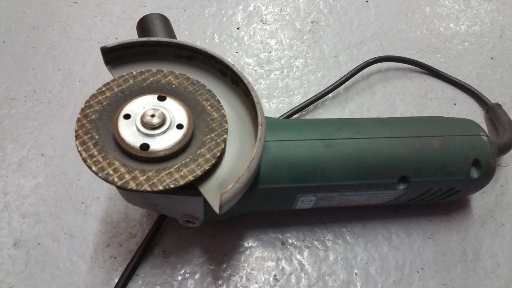
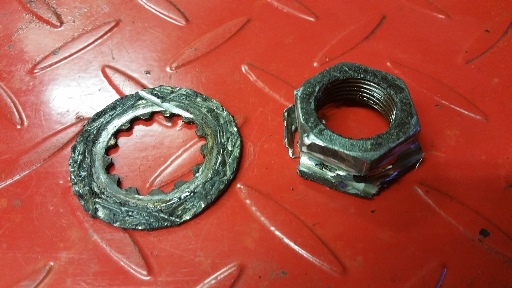
As the new order went in during summer vacation time it took some two weeks to arrive so I next concentrated on the drive chain, the clutch and the rear wheel bearings. Removing the front sprocket became a real burden, no matter what I did. I tried extending my wrench with a one meter long iron pipe but it didn't give up, I also heated the nut with a torch and gave it a good bang with hammer and chisel but still no go. At the end I used a flex to cut 6 sleeves parallel to the nut sides and only then it let go. Reason for me to use the flex as a final step is that I highly respect this terrifying piece of machinery, have seen pictures where things went terribly wrong I mean. Using a flex to me means a working highly concentrated with
both hands on the machine ALWAYS!
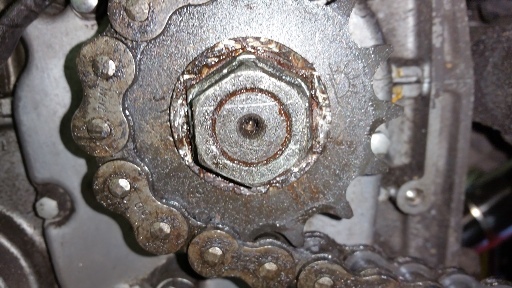
As I did found some play in the gear change lever earlier I opened up the panel behind the front socket and found the corrosion on it, nothing really spectacular but since it was now all in reach I replaced that one and all seals as well. I also spend days in getting rid of all the accumulated grease in this area, guess the bike is weighing at least 1kg less by now

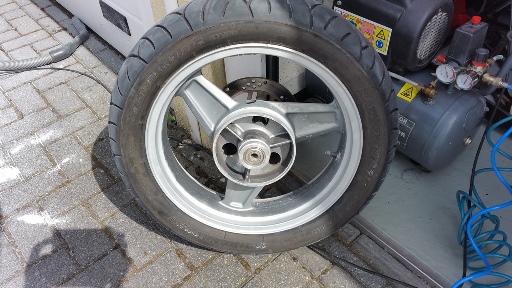
Still waiting on my shims and while replacing the rear wheel sprocket I found it's bearings to be gone. So I replaced all of them including all seals. During this work I noticed someone had been using a hammer on the rear axle, for what ever reason I don't know and since there were also signs of rust I replaced the rear axle together with basically everything that it touches like snap rings, axle sleeves, nut and washer. So after installing all of it with a decent amount of grease it is now brand new and shouldn't give any head ages for a while
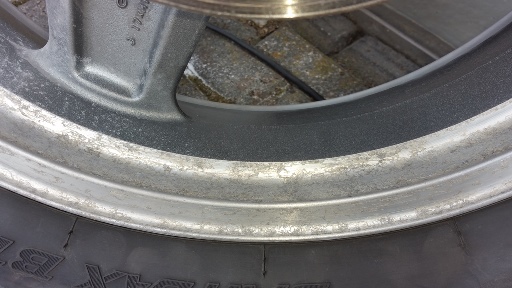
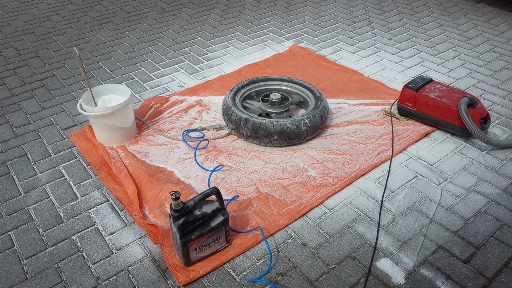
Obviously as the rear wheel came out I gave it a good cleaning job and removed most of the white colored aluminium oxide stains using my sand blaster (loaded with glass beads) so it looks a lot better. Still not perfect but I'm planning to coat the wheels later so for now it's good enough.

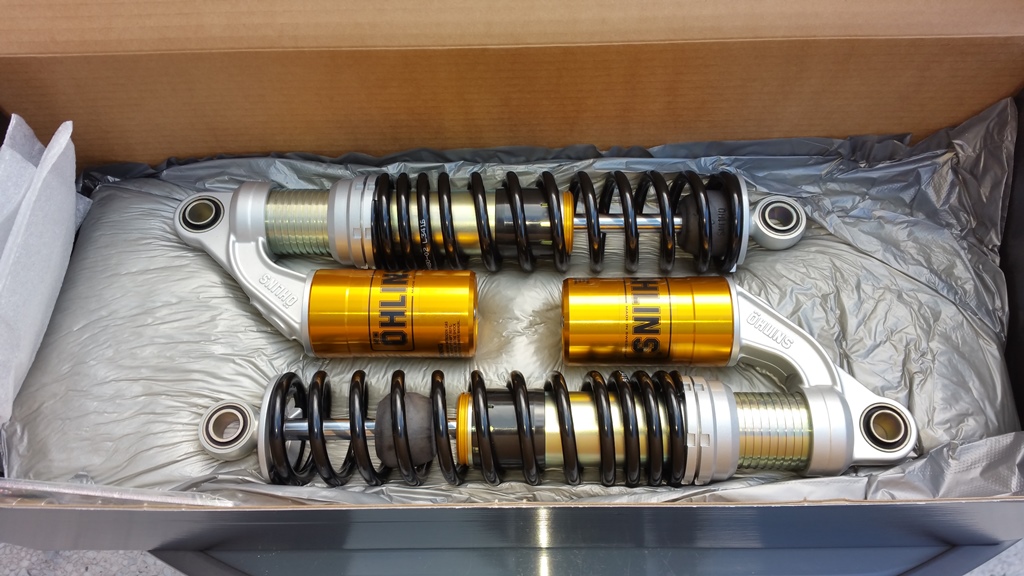
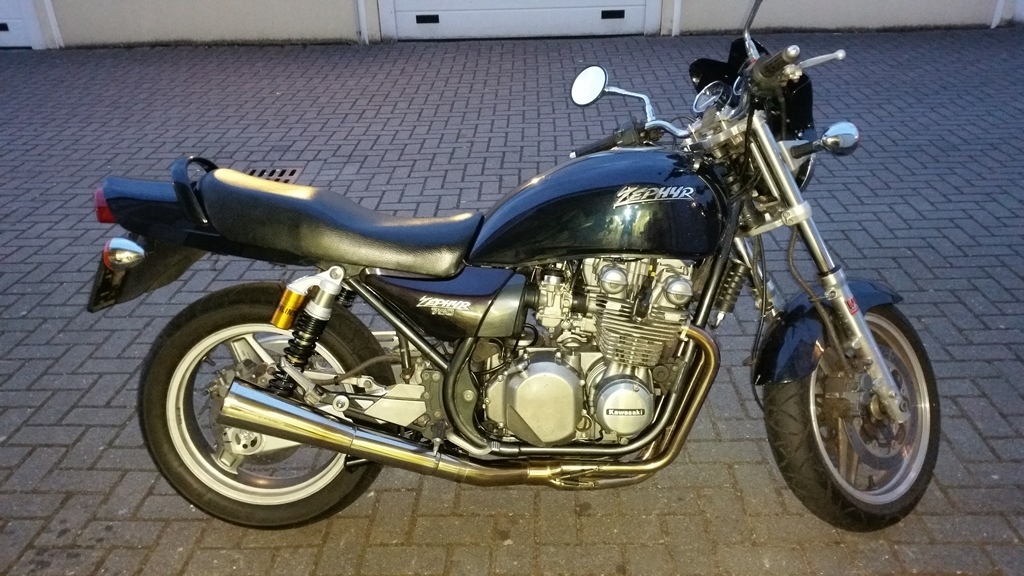
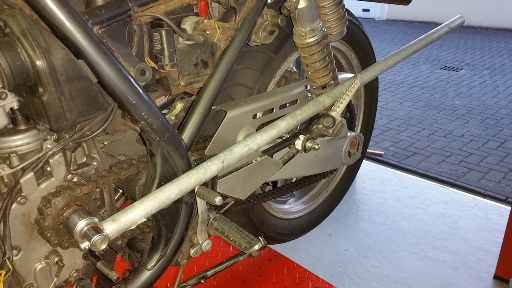
While working on the rear I tried to clean up the rear shocks as well but they were gone and I started thinking of replacing them, also because I suspected them to be unequal while driving the bike. Did some research on The Net as the forum still was down back then and after a while I decided to order a couple of Ohlins at their Dutch dealer
hksuspension. They don't come cheap for 870 Euro's but boy-o-boy do they look nice! I had to wait for my sales bonus so I ordered and mounted them few weeks later in August.